20 things you can definitely make for your wedding!
This week we're blessed with a guest post by the wonderfully crafty and talented Becca from To Be Adorned.
Becca spends her time creating beautiful crochet accessories and decorations for unique weddings, and her work is extremely budget friendly which I am obviously here for.
Wedding obsessive Becca Parker balances her craft magazine day job with her bridal Etsy shop side hustle. You’ll never catch her without a notebook full of ideas and a crochet project, and she’s convinced that green tea ups her productivity by at least 37%. She shares projects and wedding inspo on Instagram as @tobeadorned. Find her vintage-inspired accessories at www.tobeadornedshop.etsy.com.
So without further ado, let's get adorned!

Dreaming of pretty styling ideas for your big day but worried what they’ll all cost? Getting creative could be the solution. There are SO many amazing things you can totally make yourself for a fraction of what you might pay to buy them ready-made. Plus, DIY style will add heaps of personality to the day. Time to get your craft on!

People wanna know when they’ll be eating and dancing, right? For this you’ll need chalkboard paint and a chalk pen. Paint up a wooden board or remove the glass from a frame and paint the backing, leave to dry and then write in your timings.

Think signs might be useful, or have some cute messages or prompts you’d like to leave for your guests around the venue? Just as for the order of the day chalkboard, paint up your wooden boards or frames with chalkboard paint and write on your text with a chalk pen. Heart or speech bubble shapes are fab for photo props.

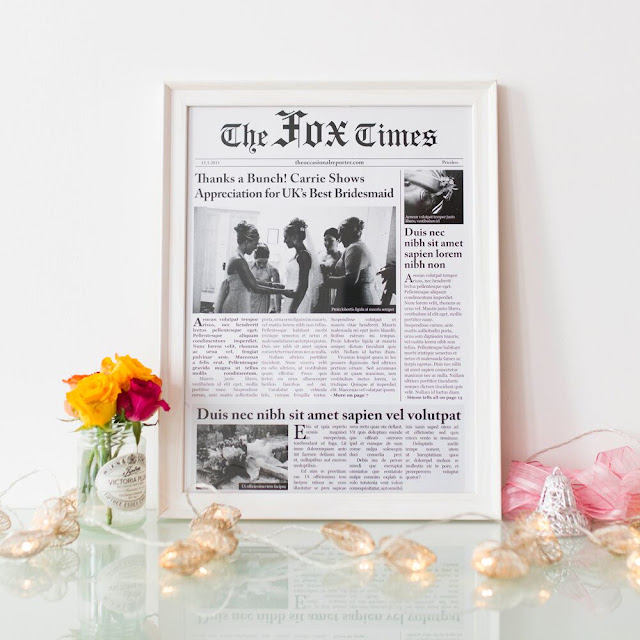
Get yourself a heart-shaped paper punch and make pretty confetti from whatever paper goods float your boat – sheet music, newspaper, old book pages, coloured paper or even comic books.

This is a perfect make for a crafternoon with your bride tribe. You need some balls of yarn in your wedding colours. Wrap yarn in a figure of eight around the prongs of a dining fork until they are full, then wrap it three times around the centre and knot to secure. Slide the bundle of yarn off the fork and snip both loopy ends. Fluff out the pompom and trim to neaten.

Use pinking scissors to cut triangles of your chosen fabrics and then sew them in place on long lengths of bias binding. Village fete vibes sorted.

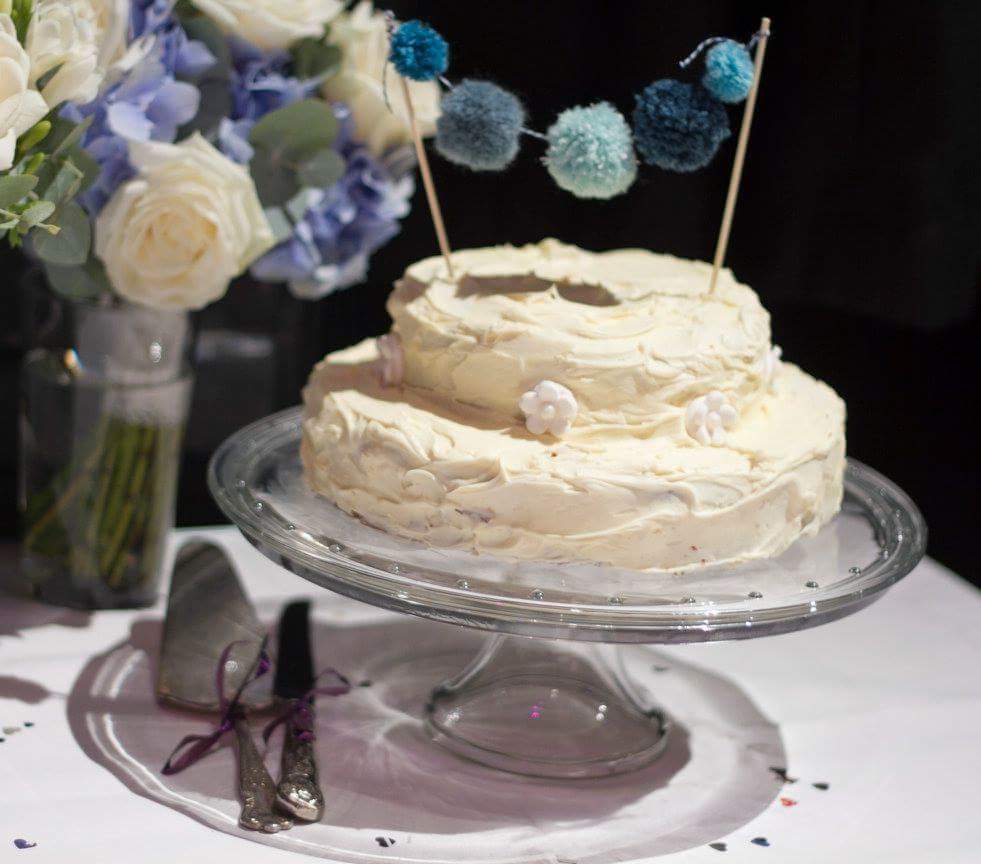
Easy to do but so effective – simply scale down the easy fabric bunting or paper bunting, or thread up some mini pompoms, and tie or glue the ends to wooden skewers to top your wedding cake in style. You could personalise it with your names or a phrase by writing a letter on each little flag.

Mark place settings with kraft paper luggage tags – you can decorate them however you like (think ribbon or twine), and write or stamp the names on. They make sweet keepsakes for guests, and you can jot down menu choices on the back as well.


You’ll want to head to the kitchen for this one – favourite sweets in a simple handmade pouch or folded box make great favours. Raid your local craft shop for inspiration, and if you can get a pun on the label, nice work!


Becca spends her time creating beautiful crochet accessories and decorations for unique weddings, and her work is extremely budget friendly which I am obviously here for.
Wedding obsessive Becca Parker balances her craft magazine day job with her bridal Etsy shop side hustle. You’ll never catch her without a notebook full of ideas and a crochet project, and she’s convinced that green tea ups her productivity by at least 37%. She shares projects and wedding inspo on Instagram as @tobeadorned. Find her vintage-inspired accessories at www.tobeadornedshop.etsy.com.
So without further ado, let's get adorned!

Dreaming of pretty styling ideas for your big day but worried what they’ll all cost? Getting creative could be the solution. There are SO many amazing things you can totally make yourself for a fraction of what you might pay to buy them ready-made. Plus, DIY style will add heaps of personality to the day. Time to get your craft on!
Mirror welcome sign
Source a large framed mirror – charity shops are great for this, or maybe you already have one at home or can borrow one. Then, grab a chalk pen or a Sharpie and write on your message in your swirliest script. Hang or prop the mirror up at the entrance of your venue.Chalkboard order of the day

Chalkboard extras

Petal confetti
Gather petals from your garden, forage, or get green-fingered friends and relatives involved. Roses, delphiniums, lavender and hydrangeas work well. Lay your petals out on a baking tray lined with kitchen towels and leave somewhere warm for a few days to dry out.Paper Confetti

Mini pompom confetti
DIY save-the-dates
There are loads of fantastic free photo editing apps and websites (hello Canva and PicMonkey) that come with shiny pre-set templates, making it so easy to produce save-the-dates, or even wedding invites, that look pretty slick. Dig out those cute couple pics or your engagement shots and have a play creating a collage or adding text. In an evening you can put together something fab to email out, or go old school and print them out to create cards.Easy fabric bunting

Paper bunting
Cut neat triangles from thick coloured or patterned paper, then punch a hole in each of the top two corners with a hole punch. Thread the triangles onto twine, ribbon or baker’s twine to finish.Bunting cake topper

Luggage tag place cards

Luggage tag bunting
Create simple handmade garlands or signs by drawing a single letter onto each tag and pegging them in order onto a length of ribbon or twine. This is perfect for a ‘just married’ sign on the back of the car, to decorate your card box, or as Mr and Mrs signs on the backs of your chairs.
Jam jar centre pieces
Salvage those glass jars from the recycling – you’ll be needing them. Clean them and remove the labels and they’re ready to go. Fill with tea lights or simple blooms and arrange them in clusters – a range of different sizes looks more interesting, and you could even mix in empty bottles of your favourite tipple for personality – just pop a dinner candle in the neck of each one. Want to jazz up your jam jars? Tie co-ordinating lace or ribbon around them – job done.Sweet treat favours

Boozy favours
How about miniature bottles of infused gin or vodka for your guests to take away? Get creative in the kitchen and pick flavours to fit the season or your favourites. You can personalise the labels with yours and your partner’s names and the date.Playlist favours
If you’re into your music, a mix CD (or even cassette, if you fancy a hipster throwback) of the poignant tracks from the big day makes the loveliest momento. Good tunes to include are your ‘down the aisle’, ‘leaving the church’ and first dance songs, plus anything else you know is going to rock the dancefloor on the night!DIY card box
The gift table needs a focal point, right? That's where a creative card box comes in. A small wooden crate is a good option - ask at your local greengrocers, or find one at Hobbycraft or online. Keep it rustic, or paint it and add a luggage tag sign. If you're going vintage, a mini suitcase is perfect.Rustic table plan
You'll want your seating plan to be two things: clear, and easy on the eye. Source a wooden pallet, print or write out your table details, then pin or peg them in place, or frame each one and nail them on. Decorate with fairy lights or flowers.
Pallet photo feature
Get your hands on a wooden pallet and print some photographs you’d like to display - maybe of loved ones who can't be there on the day, or your favourites of you and your other half. Wrap or pin twine or wire around the pallet, and then attach the pictures with mini pegs. You could even create a timeline of your love story in this way.Table numbers
Make your table numbers part of the centre pieces by writing them straight on jam jars with chalk pen, or use photo frames and print or draw them. If you fancy doing industrial, how about creating numbers for each table with bendy copper wire?
I hope you found all these tips as adorable and easy to achieve as I did. I'm definitely taking this DIY attitude to my wedding planning and it really helps to save money when you get other people on-side to help you craft these little but important parts of your plan.
Don't forget to visit Becca's shop or comment below to tell her how great she is!
www.tobeadornedshop.etsy.com
**Hat tip to The Vintage Fox: www.vintagefox.co.uk whose beautiful photographs we've used!**
**Hat tip to The Vintage Fox: www.vintagefox.co.uk whose beautiful photographs we've used!**

Comments
Post a Comment